Green is also big this fall!
I can do green.
I have green eyes and green works wonder for moi.
Ask Seth!
For this week I had a hard time deciding on the next fall garment I wanted to make because I live in LA county, and…
HOLY HOTNESS.
Not even in a good way but in a gross and sticky kind of way. So yeah… my fall is non-existant with 100 degree temps but no pity, I love swimming and I do it quite often.
However, jeans and a sweater or leather garments are out of the question, yo!
IMPOSSIBLE.
But I am ready for fall garments so I am going to work fall into summer silhouettes for now…
Which is how I got the inspiration for this post!
Colors really help to transition to into this fall fashion season… I am also loving this silhouette and you should, too!
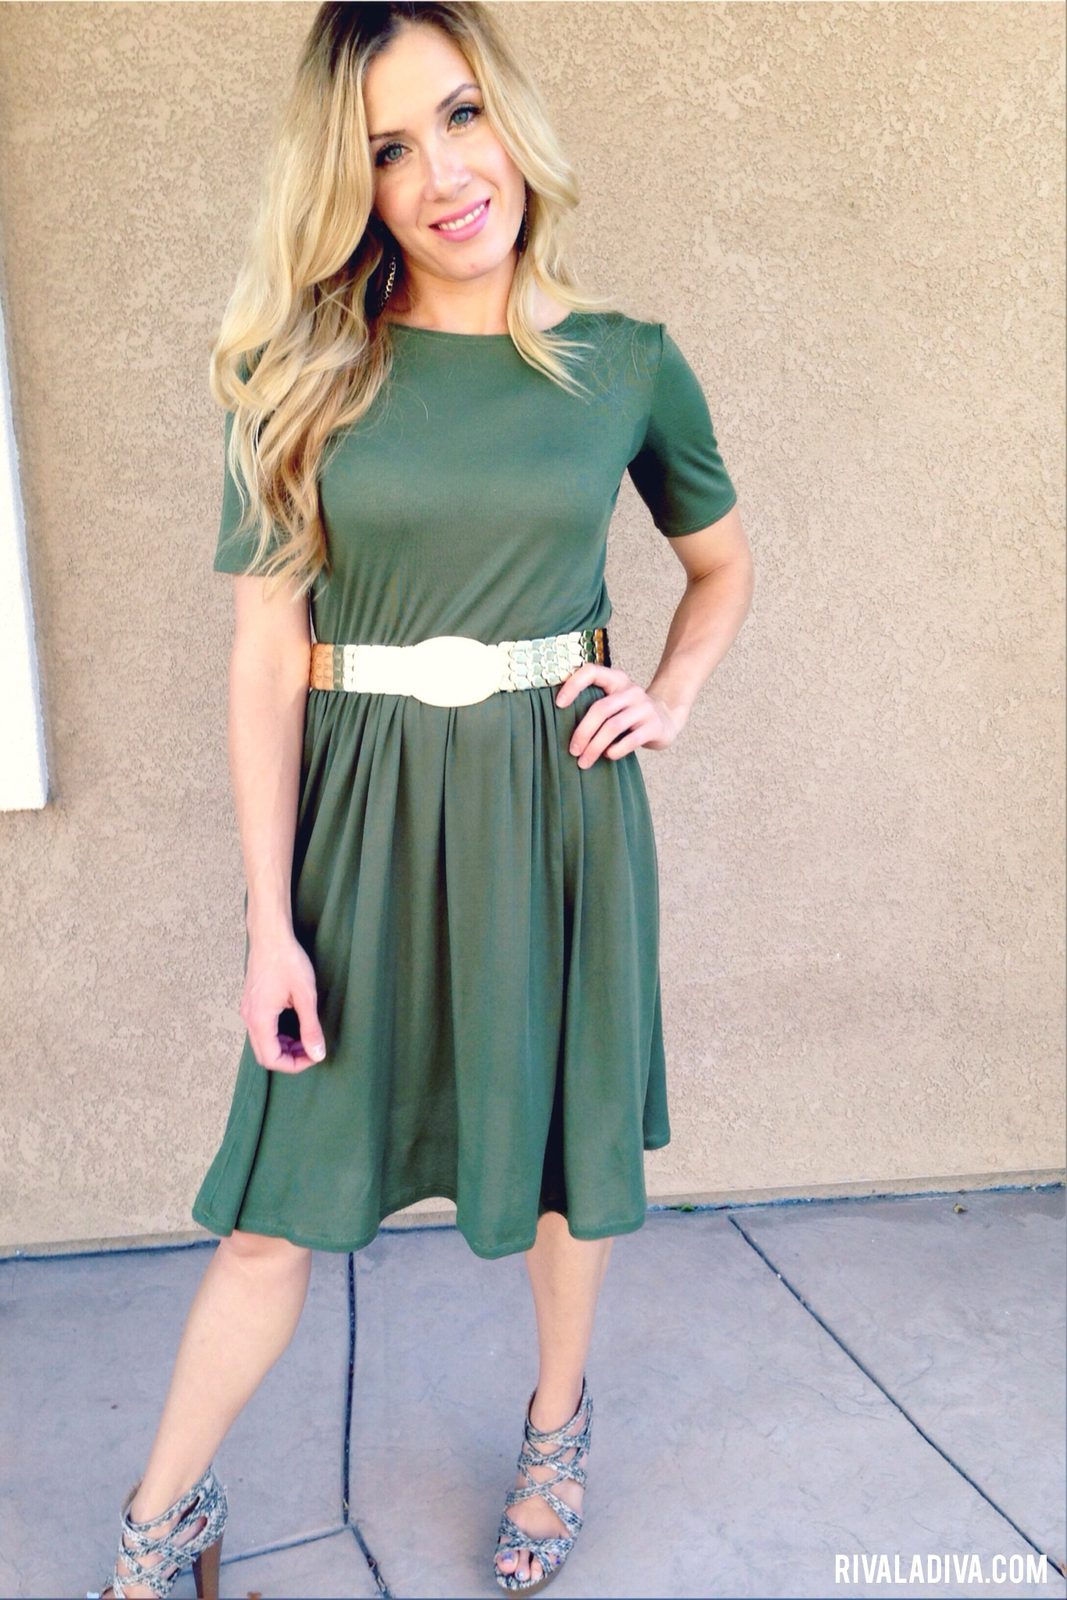
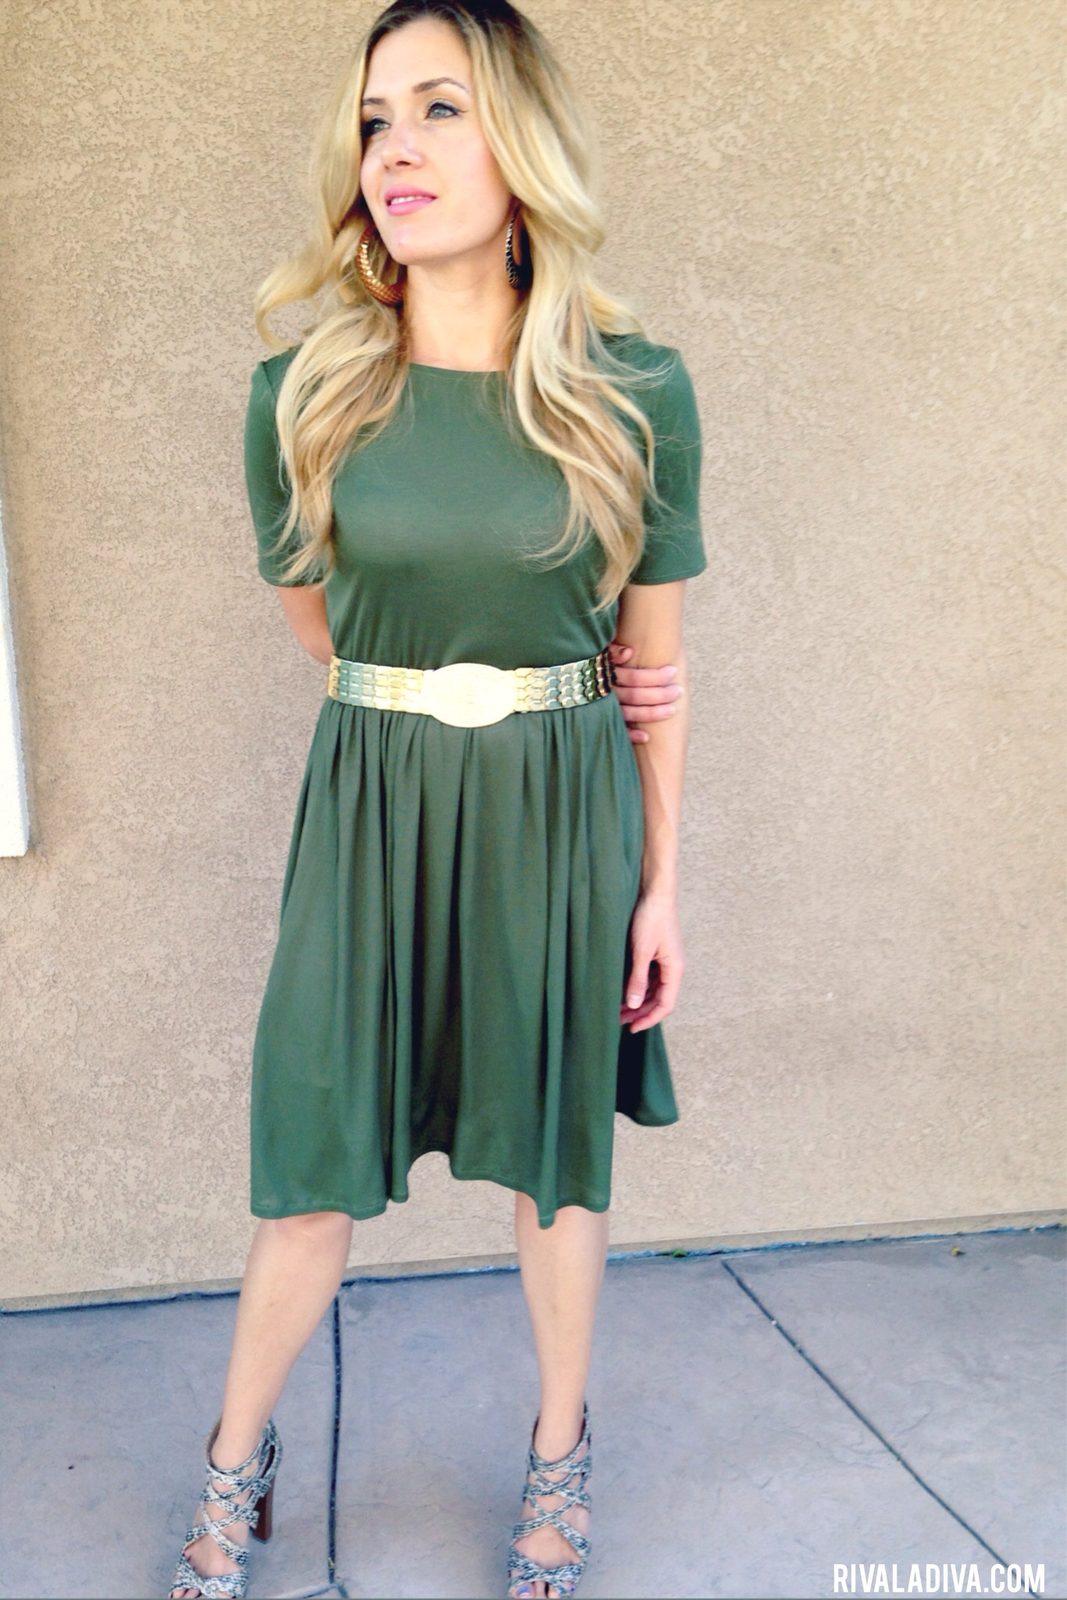
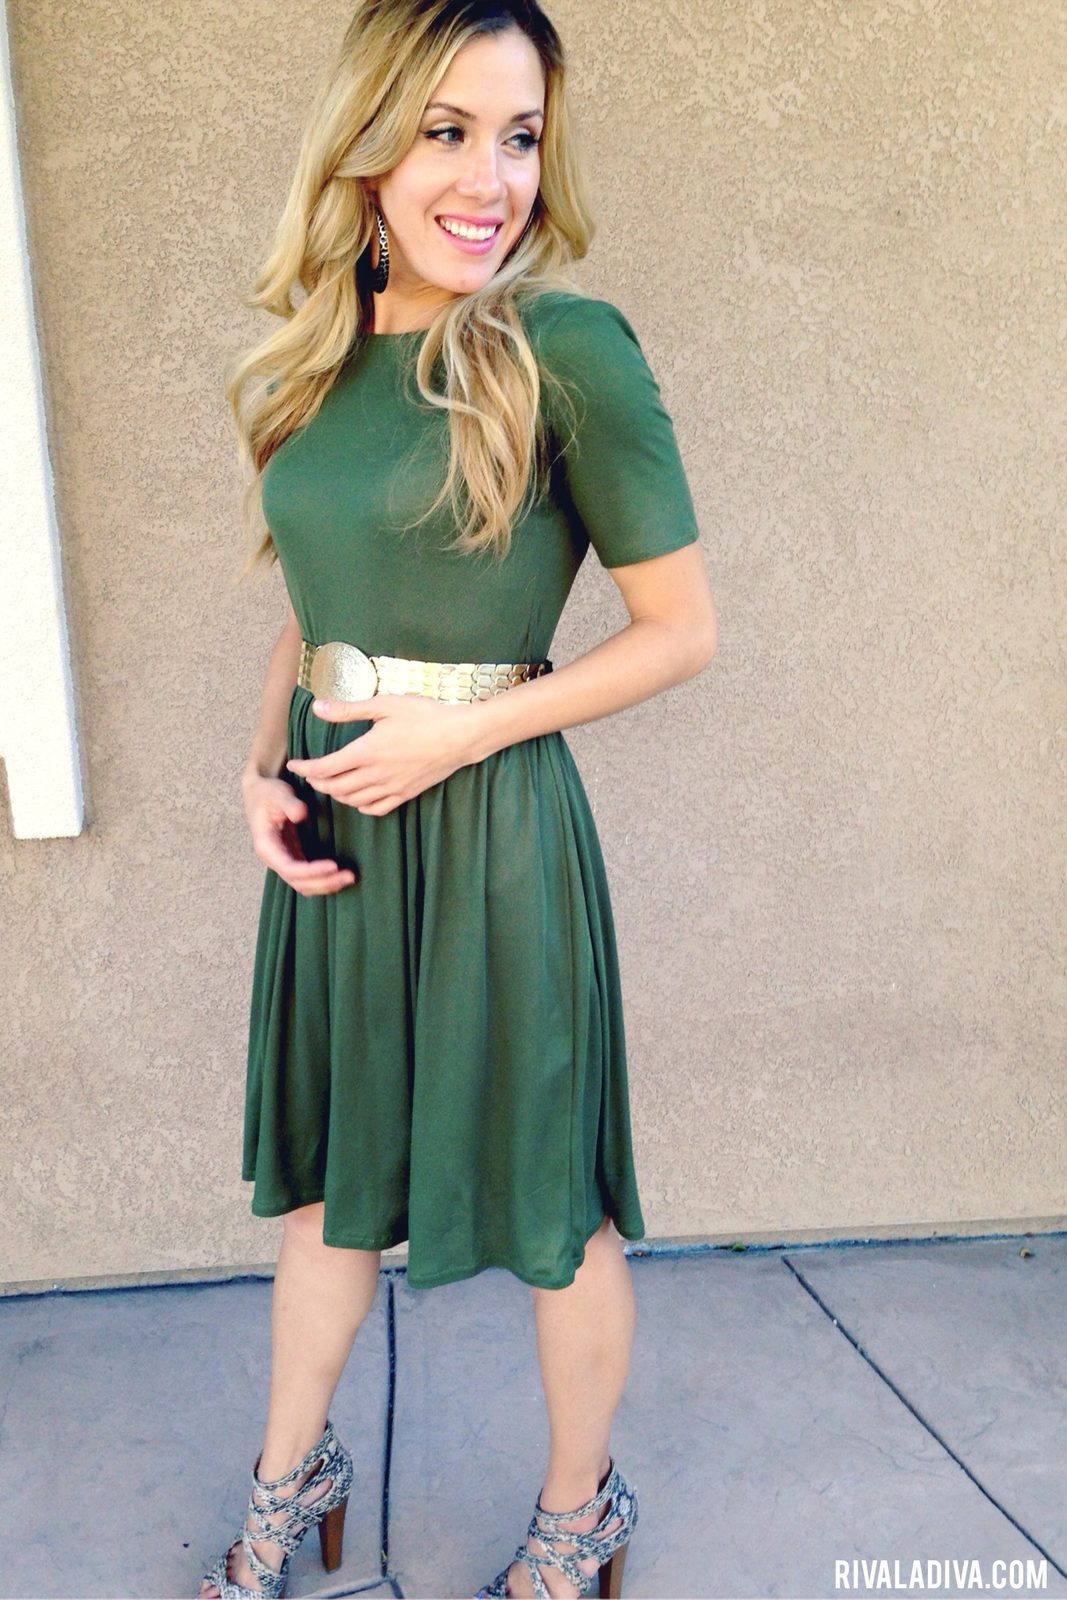
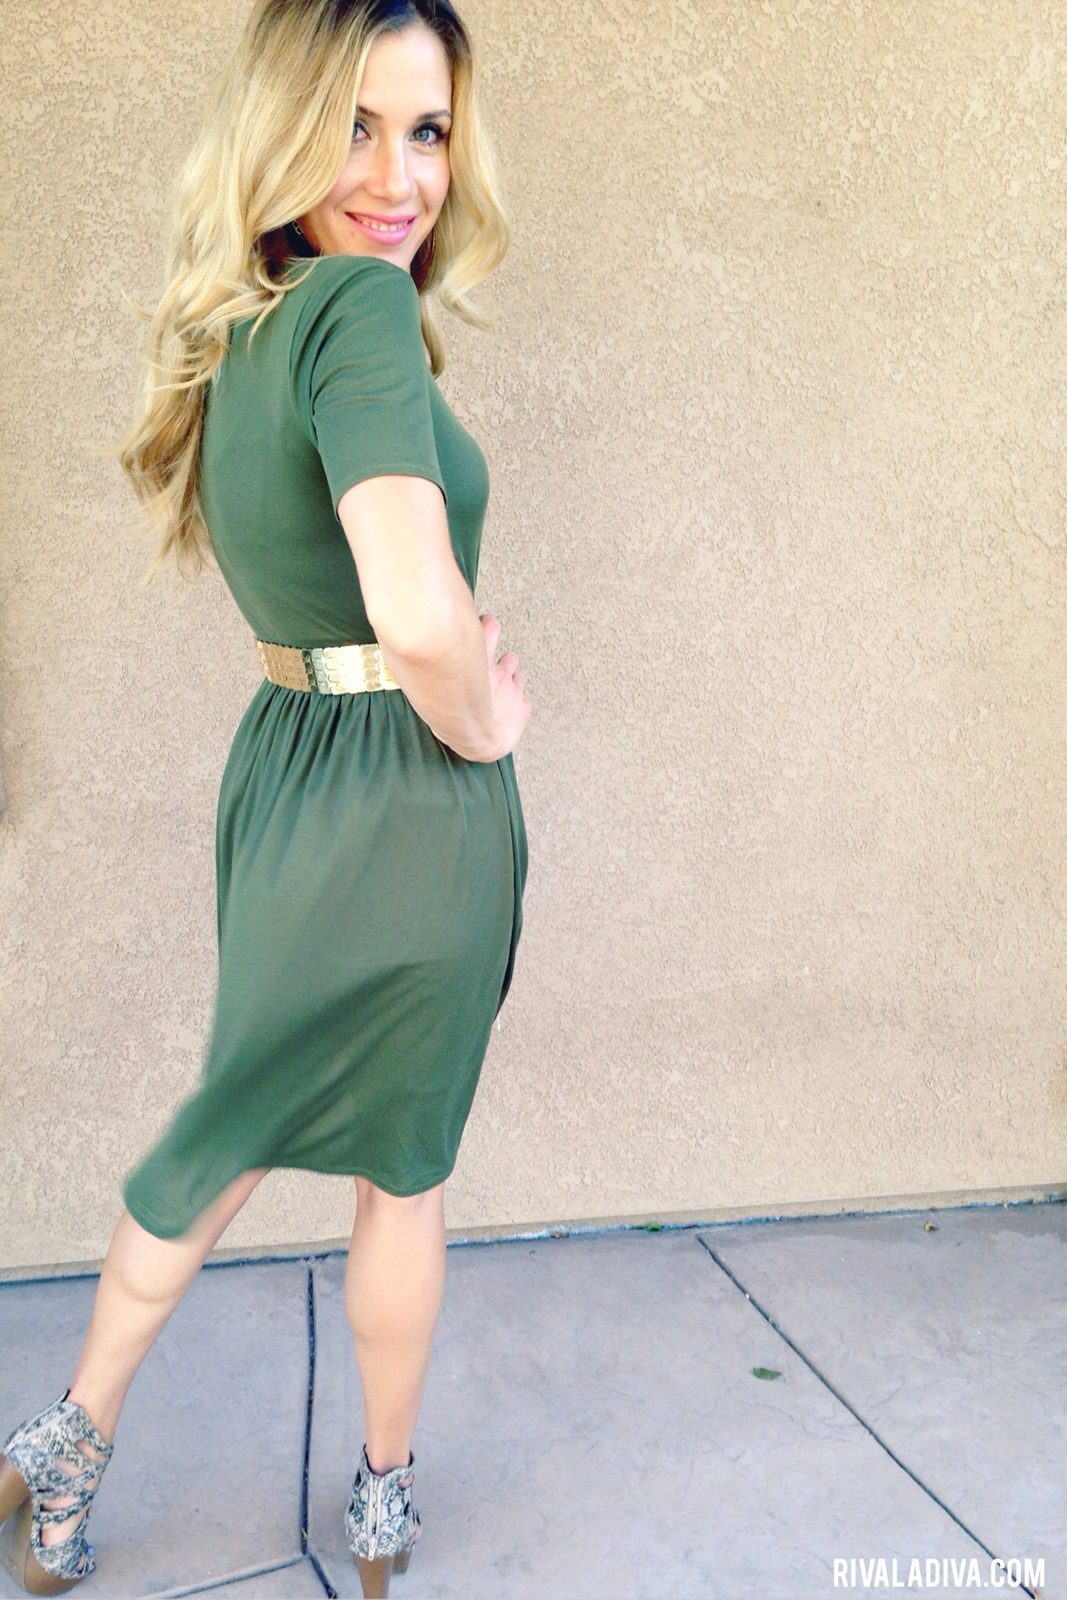
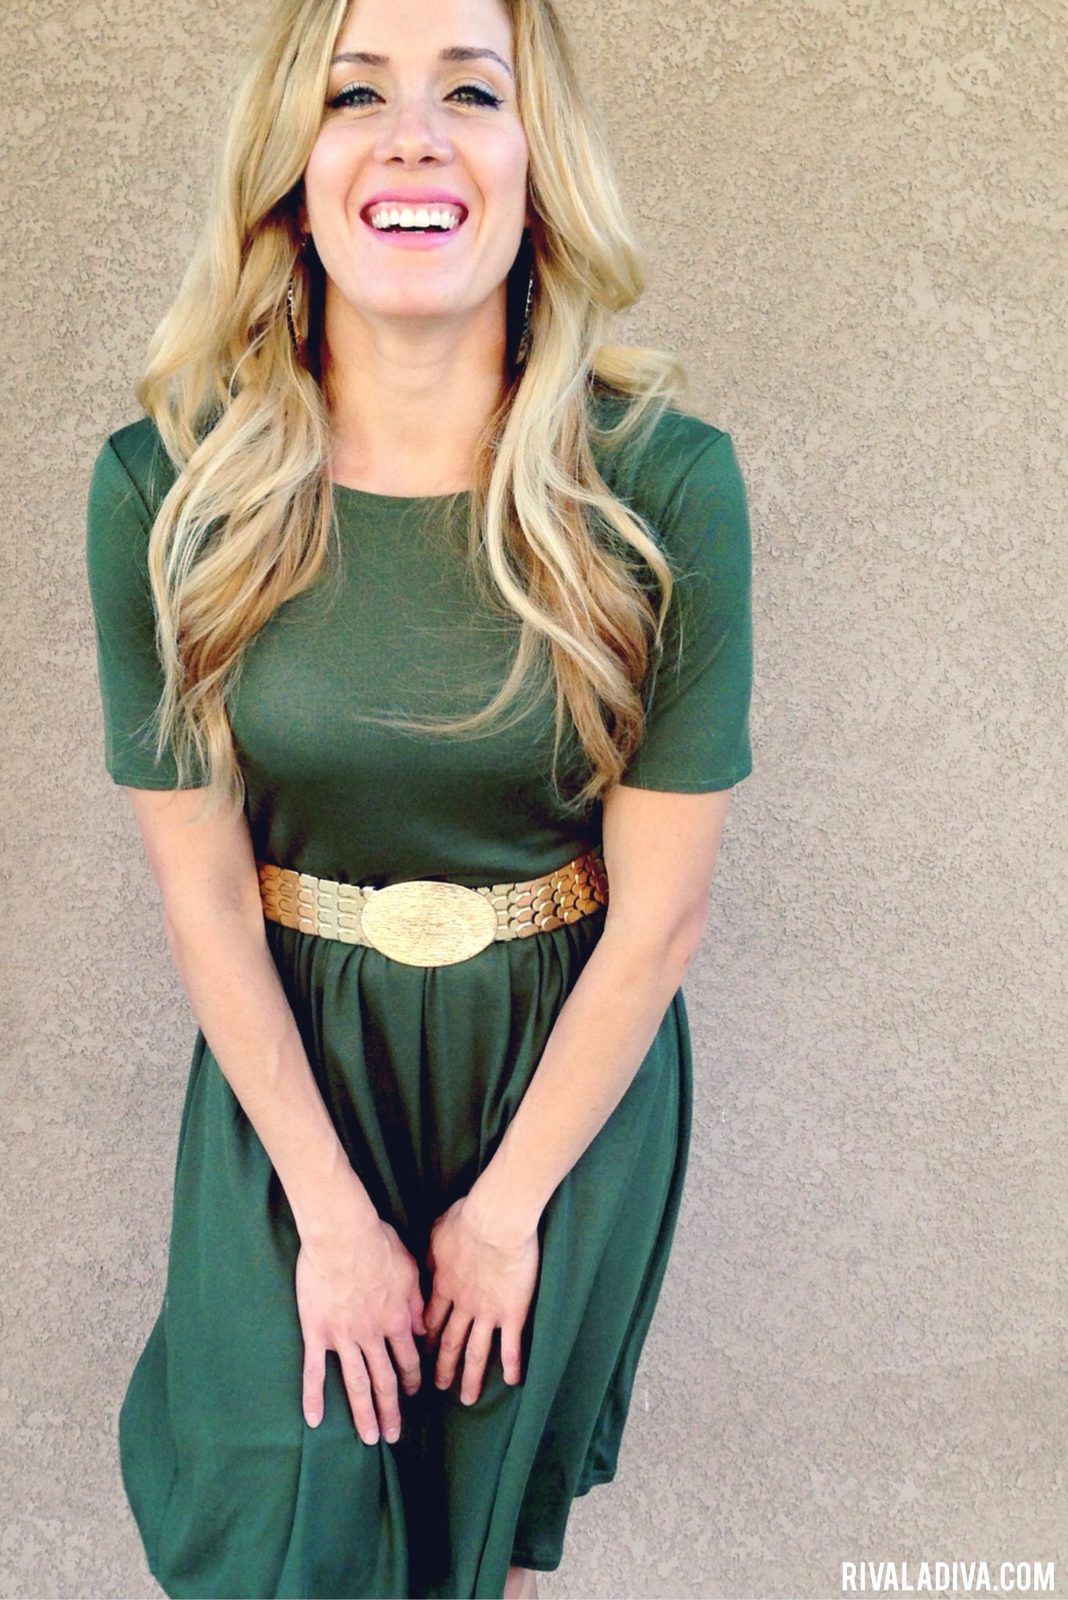

Okay, so I like to make small alterations to a lot of my patterns sometimes and here’s how I made the pattern to this dress using a shirt pattern I already own!
BUT if you don’t have one, you can find a similar pattern here and here.
Additionally, the pattern I own is old…
I could easily buy one of these newer patterns and it would work fine BUT I hate shopping for patterns at the store with the littles.
The littles are my favorite accessories and it’s hard torturing them with a trip to the fabric store, sorry JoAnn. so I gotta use what I have and it had a vneck. I wanted a rounded neckline and I will show you how I changed that…
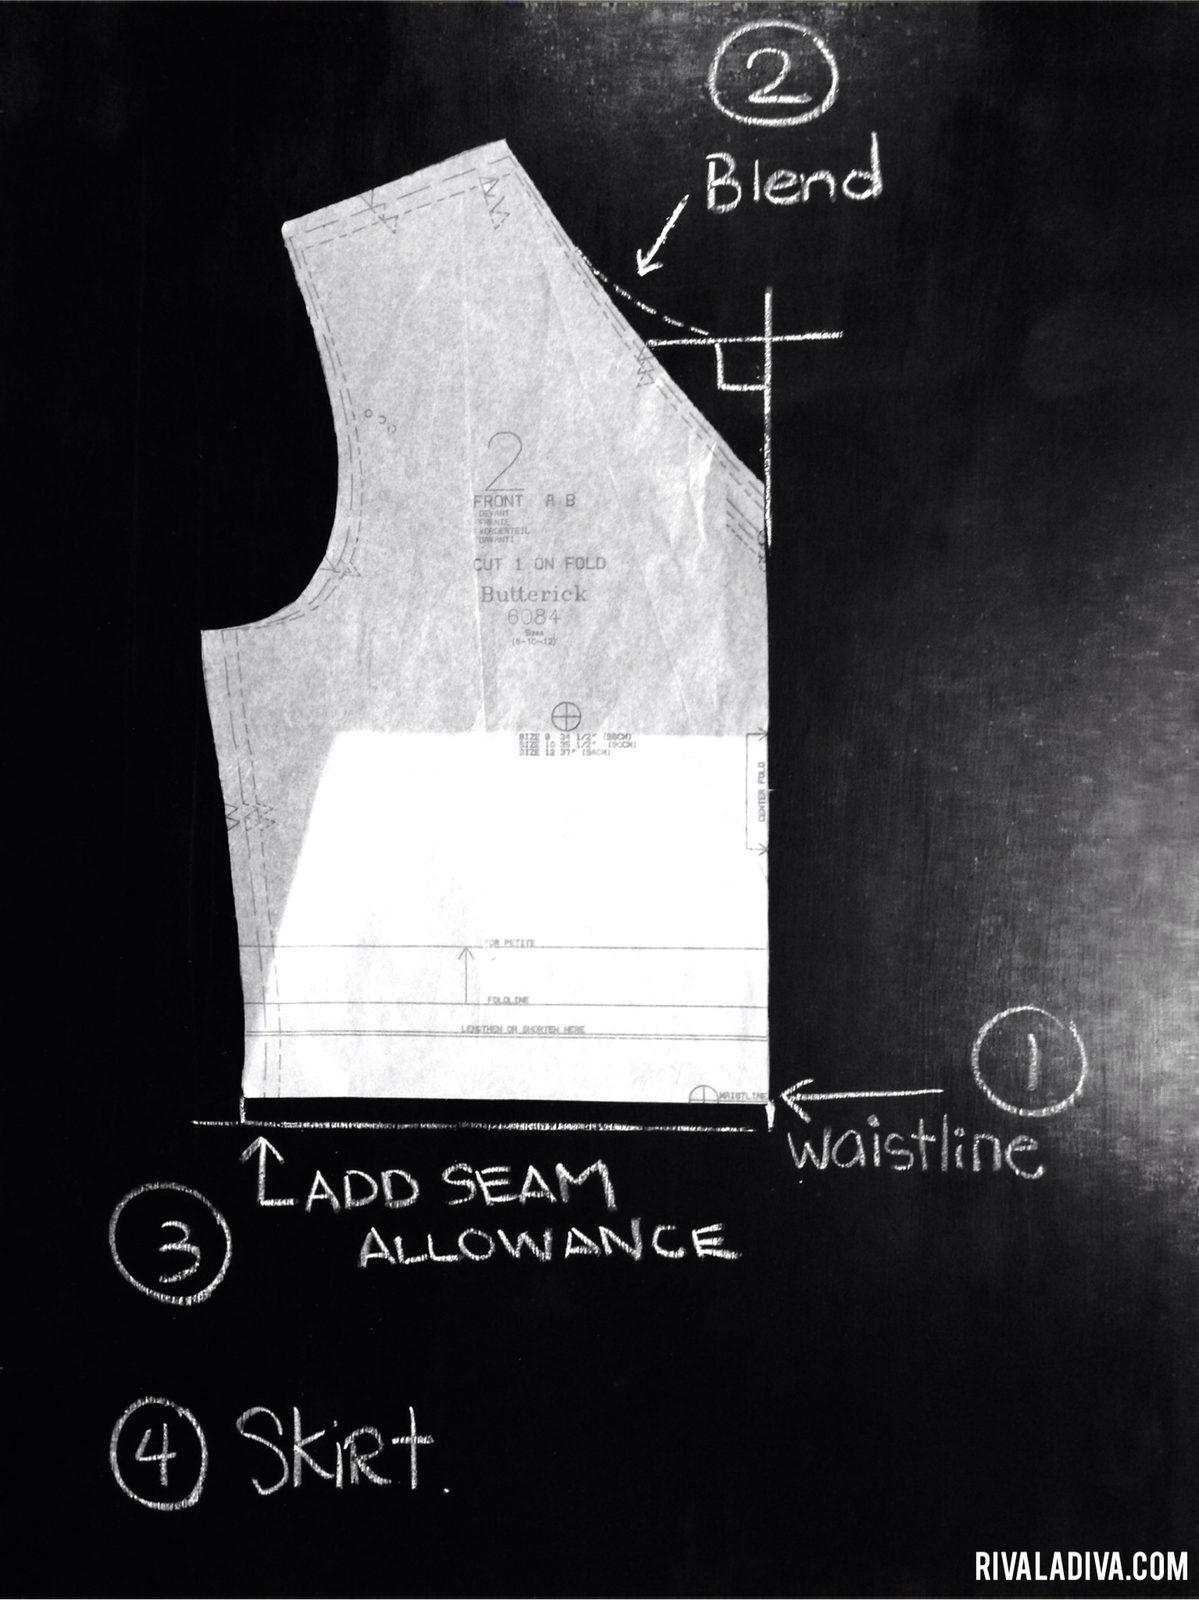
Using the picture above as a guideline,
- find the waistline and fold evenly along that invisible line across the front and back shirts,
- and then make your neckline by extending the center front a few inches and drawing another line perpendicular to the center front. Making sure to keep a 90 degree angle where the neckline and center front meet up.
- Add your seam allowance to the new waistline of the bodice.
- Add your skirt!
BUT if you already have a rounded neckline pattern – great!
Step 1. Find the waistline and fold evenly along that invisible line across the front and back shirts. Measure the front and back side seams to make sure the tops are even.
Skip Step 2.
Step 3. Add a seam allowance,
Step 4. and attach your skirt!
For the skirt.
- Measure your hips and round up to the nearest whole number (mine is 38 inches).
- Now divide your hip measurement by 2 (19 inches for me).
- Next decide how gathered you want your skirt.
You can double or even triple the last measurement, a little gathering (x2), more gathering (x2.5), a lot of gathering (x3) and so forth. I did 2.5 for the dress above (2.5 x 19 = 47.5 inches). The new measurement is just ONE side of my skirt for the width and then decide whatever length you want! I live in the knee length zone and it’s my comfort zone. Then for finishing, attach your sleeve, gather skirt to fit into the bodice waistline, sew into place, and finish off all hems.
As I mentioned earlier, you should love this dress because it would make a great maxi when the temps drop.
I love maxi dresses and skirts they are so comfy… like sweatpants kind of comfy! It’s awesome.
So there you have it! Give it a try and let me know what you think! Thanks for stopping by!
Have a glamorous day!

Linking up:
Sew Sarah R, Mid West Style Bloggers, Sabby Style, Musings of a Housewife, Two Thirty Five Designs, The Grits Blog, Penniless Socialite (featured here this week, YAY!), Style Elixir, Lena B Actually, The Fashionista Momma
Linking up here:

Leave a Reply